Day: July 19, 2026

  • How to Grow Carrots in Raised Beds (Complete 2026 Guide)

    How to Grow Carrots in Raised Beds (Complete 2026 Guide)

    Carrots have a reputation for being finicky twisted roots, stubby little nubs, seeds that never come up at all. But here’s the thing almost nobody tells beginners: those problems aren’t really carrot problems. They’re soil problems. And that’s exactly why learning how to grow carrots in raised beds is such a game-changer. In a raised bed you control the soil completely, and carrots reward you with long, straight, impossibly sweet roots.

    For most gardeners, a raised bed isn’t just an alternative to in-ground carrots it’s genuinely better. Loose, stone-free, deep, well-drained soil is everything a carrot wants, and a raised bed hands it over on day one. This guide walks you through all of it: choosing a variety that fits your bed, getting those famously stubborn seeds to germinate, thinning without wrecking your crop, and pulling your first perfect carrot.

    How Do You Grow Carrots in a Raised Bed?

    Fill a raised bed at least 12 inches deep with loose, stone-free soil enriched with compost. Sow seeds just ¼ inch deep in cool weather, keep the surface consistently moist for the 1 to 3 weeks it takes to germinate, then thin seedlings to 2 to 3 inches apart using scissors. Give them full sun and even moisture, and harvest in 60 to 80 days.

    The two things that decide your success are soil texture and germination moisture. Get loose, rock-free soil and keep those tiny seeds damp for their long sprouting window, and the rest of carrot growing is genuinely hands-off.
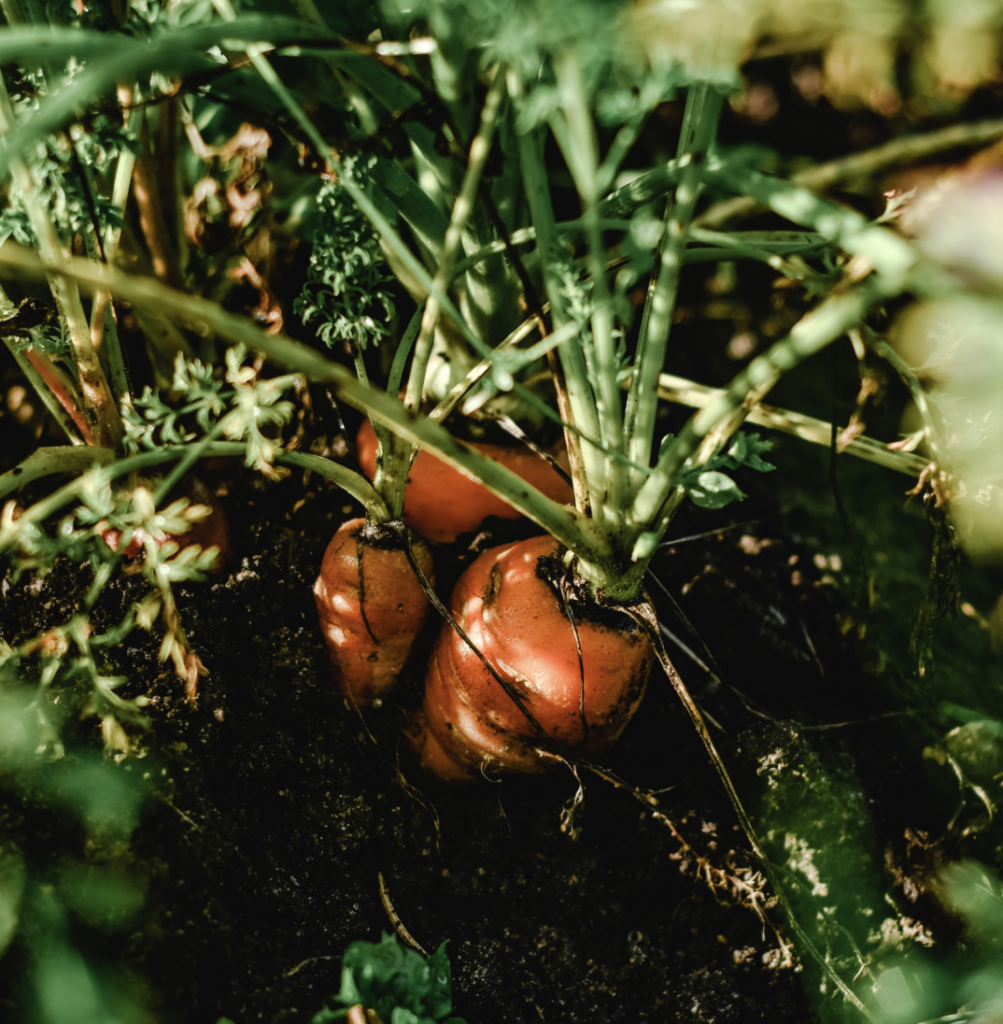
    Close-up of fresh carrots growing in Miami, Florida garden, showcasing vibrant nature
    Close-up of fresh carrots growing in Miami, Florida garden, showcasing vibrant nature

    Why Raised Beds Are Perfect for Carrots

    Carrots are unusual among vegetables in that the part you eat has to physically push down through the soil. That single fact explains everything about growing them and why raised beds suit them so well:

    • Loose, workable soil. You fill the bed yourself, so there’s no fighting compacted clay. Roots slide straight down instead of forking around obstacles.
    • You remove the rocks. Anything bigger than about half an inch will fork a carrot. In a raised bed you simply don’t put rocks in.
    • Excellent drainage. Carrots need steady moisture but rot in waterlogged ground; raised beds drain freely while compost holds moisture.
    • Depth on demand. Need 12 to 18 inches for long varieties? Just build up.
    • Easier weeding and pest control. Fewer weeds compete with slow-starting seedlings, and it’s simple to fit mesh covers against carrot fly.
    • Soil warms earlier in spring, so you can sow sooner.

    There’s also a practical comfort factor: raised beds bring the soil surface closer to you, which matters more than you’d think for a crop that involves plenty of close-up seed sowing, thinning, and weeding on your hands and knees.

    If you’re building a bed for carrots, our guides to DIY raised garden bed plans and making the perfect raised bed soil mix will set you up properly from the start.
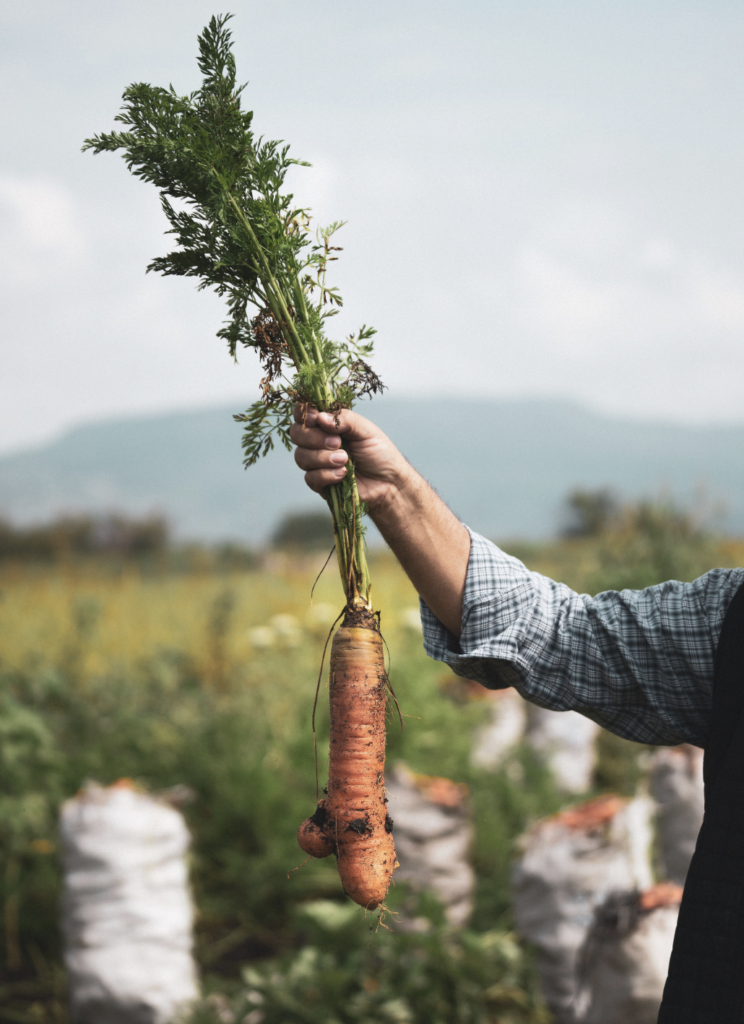
    Farmer holding a freshly picked carrot with a scenic farm backdrop.

    Farmer holding a freshly picked carrot with a scenic farm backdrop.

    Match Your Variety to Your Bed Depth

    Here’s the mistake that sinks most first-time carrot growers: planting a long variety in a shallow bed. A carrot that hits the bottom of the bed simply stops, stunts, or forks. The fix is beautifully simple, choose the variety that fits the depth you have.

    Carrot Type Bed Depth Needed Examples Notes
    Round / mini 6–8 inches ‘Paris Market’, ‘Thumbelina’ Perfect for shallow beds and containers
    Chantenay (short, stubby) 8–10 inches ‘Red-Cored Chantenay’ Tolerates heavier soil; stores well
    Nantes (cylindrical, sweet) 10–12 inches ‘Scarlet Nantes’, ‘Nelson’ The classic all-rounder; great raw
    Danvers (tapered) 12 inches+ ‘Danvers Half Long’ Reliable, good for heavier soils
    Imperator (long, slim) 16–18 inches Supermarket-style types Needs the deepest, loosest soil

    The general rule: at least 12 inches of loose soil for full-size carrots, 8 to 10 inches for round and short types, and 16 to 18 inches if you want those long, slender supermarket-style roots. If your bed walls are shorter than you’d like, there’s a neat workaround, mound the soil higher in the center of the bed, plant carrots in that raised ridge, and put shallow-rooted crops around the edges.

    Preparing the Soil (The Most Important Step)

    Carrot quality is decided before you ever sow a seed. Aim for loose, crumbly, sandy-loam soil that’s rich in organic matter and completely free of obstacles.

    Loosen deeply. Break up the soil to at least 12 inches, crumbling any clumps. Even dedicated no-till gardeners often make an exception for their carrot bed that loose texture is worth it.

    Remove every stone. Sift out rocks, sticks, clods, and old root fragments. Anything larger than about half an inch can fork a growing root.

    Add compost, but never fresh manure. Work in a generous 2 to 3 inches of compost to improve structure, drainage, and moisture retention. But avoid fresh manure and heavy nitrogen fertilizer: they cause forked, hairy roots and lush leafy tops at the expense of the carrot itself. This is the counterintuitive part of carrot growing — they’re not heavy feeders, and too much richness actively hurts them.

    Skip bagged “garden soil.” Those heavy mixes are designed for in-ground use and compact badly in beds. Use a light raised-bed mix or blend of topsoil, compost, and sand.

    Check pH. Carrots prefer slightly acidic soil, around pH 6.0 to 6.8. Our guide to testing your garden soil shows you how.

    Finally, rake the surface smooth and level fine, even soil makes a huge difference for tiny seeds.

    How to Plant Carrots in a Raised Bed: Step-by-Step

    • Step 1: Sow at the Right Time

    Carrots are a cool-season crop. Sow in early spring as soon as the soil can be worked (around 45°F), roughly two to three weeks before your last frost, and again in mid-to-late summer for a fall harvest. They dislike heat and may bolt above 90°F, so in warm climates grow them through fall and winter. Check your frost dates to plan, and consider succession planting a new short row every two to three weeks for a continuous supply.

    • Step 2: Direct Sow Only, and Sow Shallow

    Never start carrots in trays, they transplant terribly, and any root disturbance means a twisted carrot. Sow directly where they’ll grow. Moisten the bed first, then sow seeds just ¼ inch deep (some growers go as shallow as ⅛ inch). Too deep and the seedlings can’t push through; too shallow and they dry out. Cover lightly with fine soil or vermiculite and press gently for good seed-to-soil contact.

    • Step 3: Use the Sand Trick (and the Radish Trick)

    Carrot seeds are almost comically tiny, which makes even sowing a challenge. Two classic solutions:

    • Mix seeds with dry sand and sprinkle the mixture over the bed. The sand spreads the seed evenly and makes it visible against the soil. An empty spice jar makes a perfect shaker.
    • Add a pinch of radish seeds to the mix. Radishes sprout in days, marking your rows while the slow carrots germinate, breaking up any surface crust, and getting harvested long before they compete.

    Sow a little more thickly than you need, gaps in a carrot row are far more annoying to live with than a few minutes of thinning later on.

    • Step 4: Keep the Surface Moist (Non-Negotiable)

    This is where most carrot crops are won or lost. Carrot seeds take 10 to 21 days to germinate, and if the soil surface dries out at any point during that window, the seeds die. Water gently and often, in hot weather that can mean a light misting two or three times a day and never let the top layer crust over. A thin layer of mulch, a board, or a fabric row cover laid over the bed holds moisture beautifully; just remove it the moment seedlings appear.

    In our experience, this is the single reason most people believe “carrots are hard.” Gardeners water the bed thoroughly on sowing day, then treat it like any other crop and check back a week later, by which point a couple of hot afternoons have baked the surface and the seedlings never stood a chance. It’s not a green-thumb problem; it’s a three-week attention problem. Commit to keeping that top half-inch damp for twenty-one days and carrots quietly become one of the easiest things in the garden. After germination they ask almost nothing of you.

    • Step 5: Thin With Scissors (Twice)

    When seedlings are 1 to 2 inches tall, thin them. It feels wasteful, but crowded carrots stay tiny and misshapen, root crops sense their neighbors and simply refuse to size up.

    Use scissors, don’t pull. Snip unwanted seedlings off at soil level so you don’t disturb the roots of the keepers next door. Thin in waves: a first pass to about 1 inch apart, then a second when they crowd again, ending at 2 to 3 inches apart for standard varieties (up to 4 inches for large types, 1 to 1.5 inches for bunching carrots). Best of all, that final thinning gives you a free harvest of sweet baby carrots.

    Carrot Care: Water, Feeding and Weeding

    • Watering. Carrots want consistency above all, no wide swings between soggy and bone dry. Erratic moisture causes split and cracked roots, while drought makes them woody and bitter. Once seedlings are established, water deeply once or twice a week rather than lightly every day. Raised beds dry faster than in-ground beds, so check often. Drip irrigation or a soaker hose is ideal, delivering water to the roots without soaking the foliage.
    • Mulching. A thin layer of straw or shredded leaves between rows conserves moisture, moderates temperature, and suppresses weeds. Keep a little gap around the crowns to prevent rot. See our guide to types of mulch.
    • Feeding. Less is more. If you prepped the bed with compost, your carrots likely need nothing else. Too much nitrogen produces gorgeous ferny tops and woody, forked roots. If you want to give them a boost, carrots appreciate potassium, a drink of compost tea every couple of weeks in early to mid-summer, as roots are sizing up, is perfect. Our guides to NPK ratios and compost tea can help.

    Weeding. Carrot seedlings are slow and easily outcompeted. Weed early and often, ideally as soon as the first thread-like seedlings emerge, then again when they’re 3 to 4 inches and 5 to 6 inches tall. Weeding little and often beats one big rescue mission.

    Protecting Carrots From Pests

    Carrots are largely trouble-free, with one notable exception: the carrot rust fly. These pests are drawn by the scent of carrot foliage and lay eggs where the leaves meet the root; their larvae tunnel into the carrot, causing rusty scarring and rot.

    The most effective defense is physical. Cover the bed with fine insect mesh (1–2 mm) or a floating row cover from sowing, sealing the edges so flies can’t get underneath. carrots don’t need insect pollination, so you can leave covers on all season. Crop rotation helps too, since the pests overwinter in the soil, and companion planting works surprisingly well: sage planted in the carrot bed masks the carrot scent and deters the flies. Our companion planting guide has more pairings, and crop rotation basics explains the rotation side.

    Wireworms and slugs can also nibble roots, and in damp conditions Alternaria leaf blight may yellow the foliage, good airflow and watering at the soil line rather than overhead keep it in check.
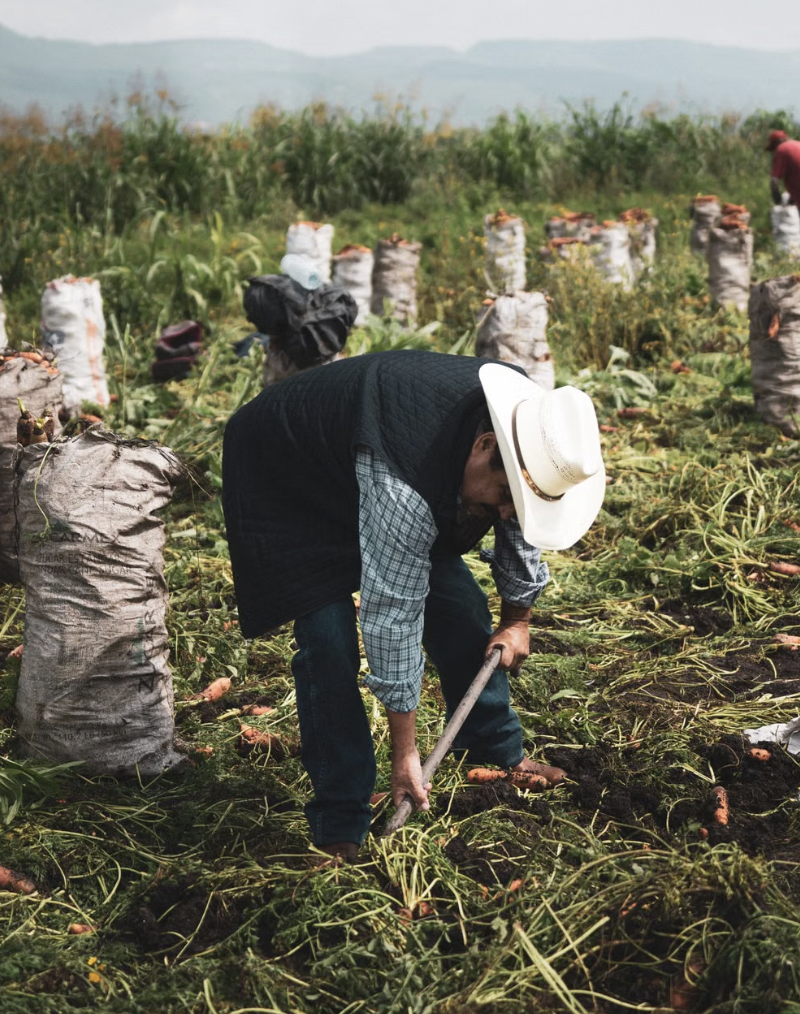
    A farmer in a hat harvesting carrots in a rural field, showcasing agricultural work
    A farmer in a hat harvesting carrots in a rural field, showcasing agricultural work

    Harvesting Carrots

    Most varieties mature in 60 to 80 days. The signs of readiness: the shoulders of the root begin to push up above the soil, showing their full, rich color, and the tops have grown lush (usually around 12 inches tall).

    You can start pulling baby carrots any time, they’re delicious small. but patience genuinely pays with bigger, sweeter roots. Don’t leave them too long, though, or they turn woody.

    • How to pull them without snapping the tops: loosen the soil beside each carrot with a trowel or fork first, then grip low at the shoulders and ease it out with a gentle twist. Yanking straight up on the greens usually leaves the carrot in the ground.
    • A sweet bonus: carrots are frost-hardy, and a light frost actually improves their flavor, prompting the plant to convert starches to sugars. In many regions you can leave carrots in the ground under a thick mulch blanket and harvest them through winter, a wonderful, low-effort form of storage. Our winter garden prep guide covers overwintering root crops.
    • Storing: twist off the leafy tops right away (they draw moisture from the root), and store unwashed carrots in a perforated bag in the fridge crisper, where they’ll keep for four to six weeks.

    And don’t throw those tops away, carrot greens are entirely edible and make a lovely, slightly bitter pesto or a flavorful addition to stock, which is exactly the sort of low-waste bonus a homegrown crop should give you. The roots themselves are nutritional powerhouses, loaded with beta-carotene (which your body converts to vitamin A), fiber, and antioxidants. Homegrown carrots also open up colors you’ll rarely find in a supermarket, deep purple, sunny yellow, creamy white. all grown exactly the same way, and all a delight on the plate.

    Common Problems and How to Fix Them

    Problem Likely Cause The Fix
    Seeds never germinated Soil dried out or crusted; sown too deep Keep surface constantly moist for 1–3 weeks; sow just ¼ inch deep
    Forked or twisted roots Stones, compacted soil, fresh manure, or transplanting Sift out rocks; loosen deeply; never use fresh manure; direct sow only
    Tiny, stunted carrots Overcrowding — not thinned Thin to 2–3 inches with scissors, in waves
    Short, stubby roots Bed too shallow for the variety Match variety to depth, or mound soil higher
    Lush tops, poor roots Too much nitrogen Skip fertilizer; compost alone is plenty
    Split or cracked roots Irregular watering Water deeply and consistently; mulch
    Rusty tunnels in roots Carrot rust fly larvae Use 1–2 mm mesh covers; rotate crops; plant sage
    Bitter or woody carrots Heat, drought, or left in too long Grow in cool seasons; harvest at mature size

    Is Growing Carrots in Raised Beds Worth It?

    Absolutely and honestly, it’s the way most gardeners should grow them. Every classic carrot frustration traces back to soil, and a raised bed solves that on day one. Give them loose, stone-free soil, keep the seedbed damp for those first few weeks, thin them properly, and carrots become one of the most hands-off crops in the garden. Then comes the best part: pulling a bright, crisp, sun-warmed carrot from the earth never stops feeling like a small piece of magic and it will taste nothing like the bagged ones from the store.
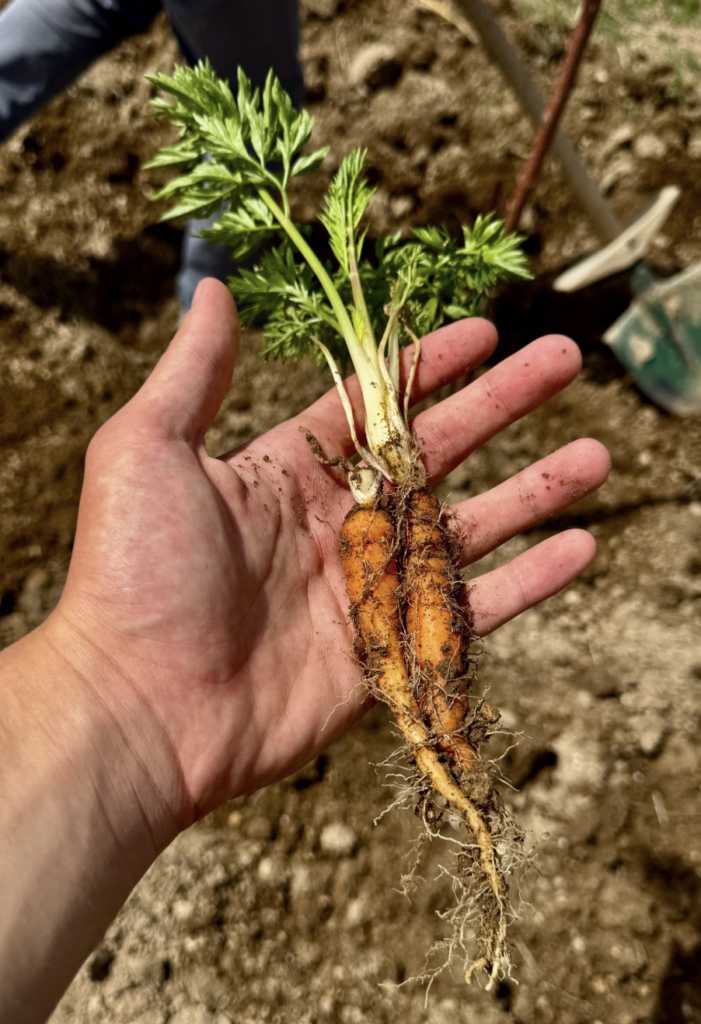
    Close-up of a hand holding a freshly picked carrot, ideal for checking quality in the garden
    Close-up of a hand holding a freshly picked carrot, ideal for checking quality in the garden

    Ready to fill the rest of your bed? Carrots make excellent neighbors for other cool-season crops, try leaf lettuce for continuous harvest, kale in cool weather, or spinach year-round. For warm-season company nearby, see tomatoes in containers. Explore the full Vegetables collection, part of the broader EcoGardenHub Plant Library.

    Loosen your soil, scatter a pinch of seed with a little sand, and keep it damp. in a couple of months you’ll be pulling treasure out of the ground. Few crops ask so little and surprise you so much.

    Frequently Asked Questions

    • How deep should a raised bed be for carrots? At least 12 inches of loose soil for full-size carrots, 8 to 10 inches for short or round varieties, and 16 to 18 inches for long Imperator types. If your bed is shallow, mound the soil higher in the center or choose a shorter variety.
    • How far apart should carrots be spaced? Thin seedlings to 2 to 3 inches apart for standard varieties, about 1 to 1.5 inches for bunching carrots, and up to 4 inches for large types. Crowded carrots stay small and misshapen, so thinning is essential.
    • Why are my carrots forked or twisted? Forking is caused by obstacles, stones, clods, or compacted soil or by fresh manure and excess nitrogen. Transplanting also causes twisted roots. Sift out debris, loosen the soil deeply, use only well-rotted compost, and always direct sow.
    • Why won’t my carrot seeds germinate? Carrot seeds take 10 to 21 days to sprout and die if the surface dries out or crusts over. Keep the top layer consistently moist with light, frequent watering, sow no deeper than ¼ inch, and cover the bed with mulch or a row cover until seedlings appear.
    • Should I thin carrots by pulling or cutting? Cut them. Snip unwanted seedlings at soil level with scissors so you don’t disturb the roots of neighboring carrots. Thin in two waves, and enjoy the final thinnings as baby carrots.
    • How long do carrots take to grow? Most varieties mature in 60 to 80 days from sowing. You can harvest baby carrots earlier, but leaving them to size up gives bigger, sweeter roots. just don’t leave them so long that they turn woody.
    • Can you leave carrots in the ground over winter? Yes, in many regions. Carrots are frost-hardy, and a light frost actually sweetens them by converting starches to sugars. Cover the bed with a thick layer of mulch and harvest as needed through winter.
  • How to Grow a Loquat Tree: A Complete Guide 2026

    How to Grow a Loquat Tree: A Complete Guide 2026

    Few fruits are as underrated or as delightful as the loquat. Golden, fragrant, and tasting like a sun-warmed blend of peach, citrus, and mango with a whisper of honey, loquats are almost never found in grocery stores, which makes growing your own feel like a wonderful secret. Learning how to grow a loquat tree rewards you with clusters of sweet spring fruit and a strikingly beautiful evergreen that looks tropical year-round.

    Here’s what makes the loquat especially charming: it does everything backward. While most fruit trees bloom in spring, the loquat flowers in fall and ripens its fruit in late winter and early spring, brightening the leanest part of the gardening year. That unusual habit is also the key to growing it well, and this complete guide walks you through all of it  from choosing the right climate to thinning fruit for the biggest, sweetest harvest.

    Can You Grow a Loquat Tree at Home?

    Yes, you can grow a loquat tree at home if you live in a warm climate (USDA zones 8–10) or can protect it from hard frost. Plant a grafted tree in full sun with well-draining, slightly acidic soil, water it deeply, and feed it in spring. Loquats flower in fall and fruit in late winter to spring, and a grafted tree can bear within a couple of years. In colder regions, grow loquats in containers.

    The single most important thing to understand is climate. Because loquats flower in fall and carry developing fruit through winter, a hard frost can wipe out the crop even on a tree that survives the cold just fine. Nail the climate (or protect the tree), and loquats are genuinely easy, low-maintenance, and generous.

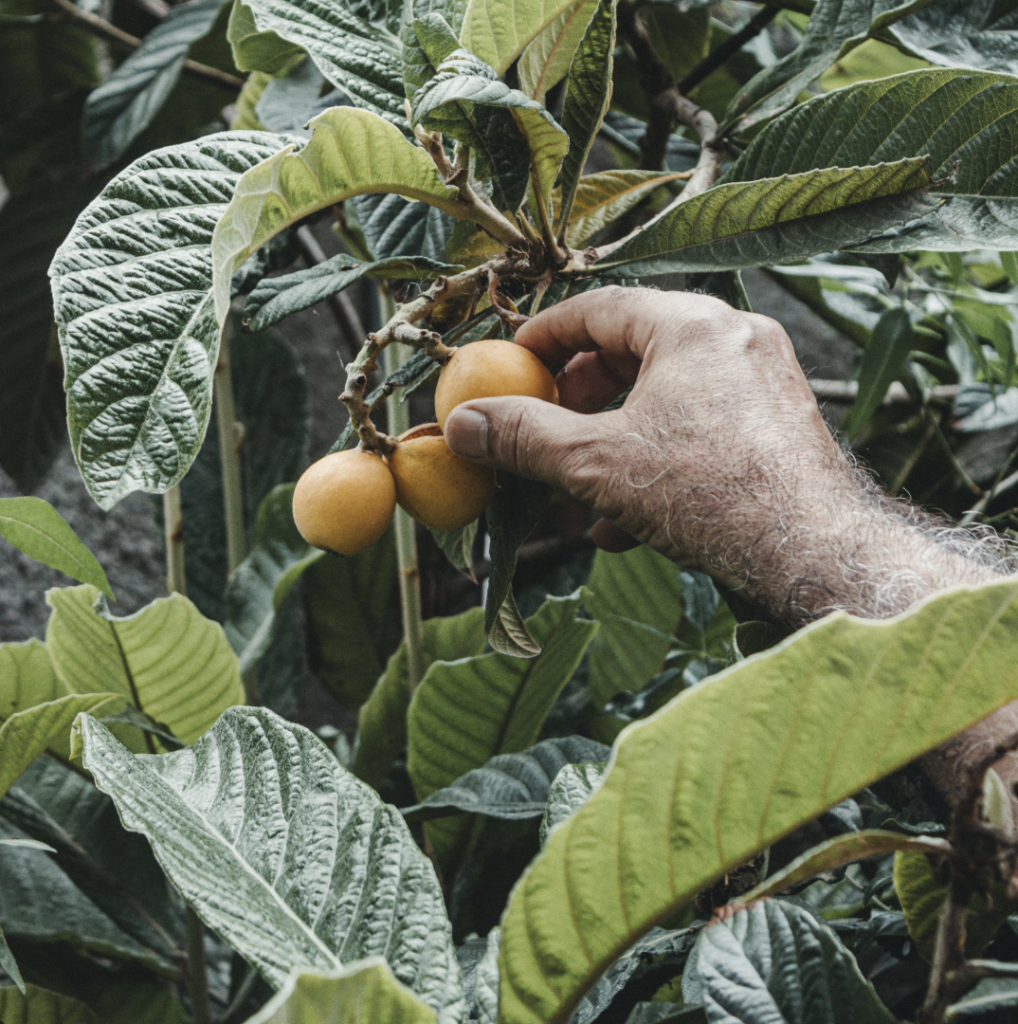
    Close-up of a person picking ripe loquats from a lush green tree in an outdoor garden.
    Close-up of a person picking ripe loquats from a lush green tree in an outdoor garden.

    Meet the Loquat (Eriobotrya japonica)

    The loquat (Eriobotrya japonica) is an evergreen small tree or large shrub native to southeastern China and long cultivated across China and Japan, where it’s revered as a symbol of wealth and prosperity. You may also hear it called the Japanese plum, Chinese plum, or Japanese medlar. Surprisingly, it’s a member of the rose family, making it a cousin of apples, pears, and quince.

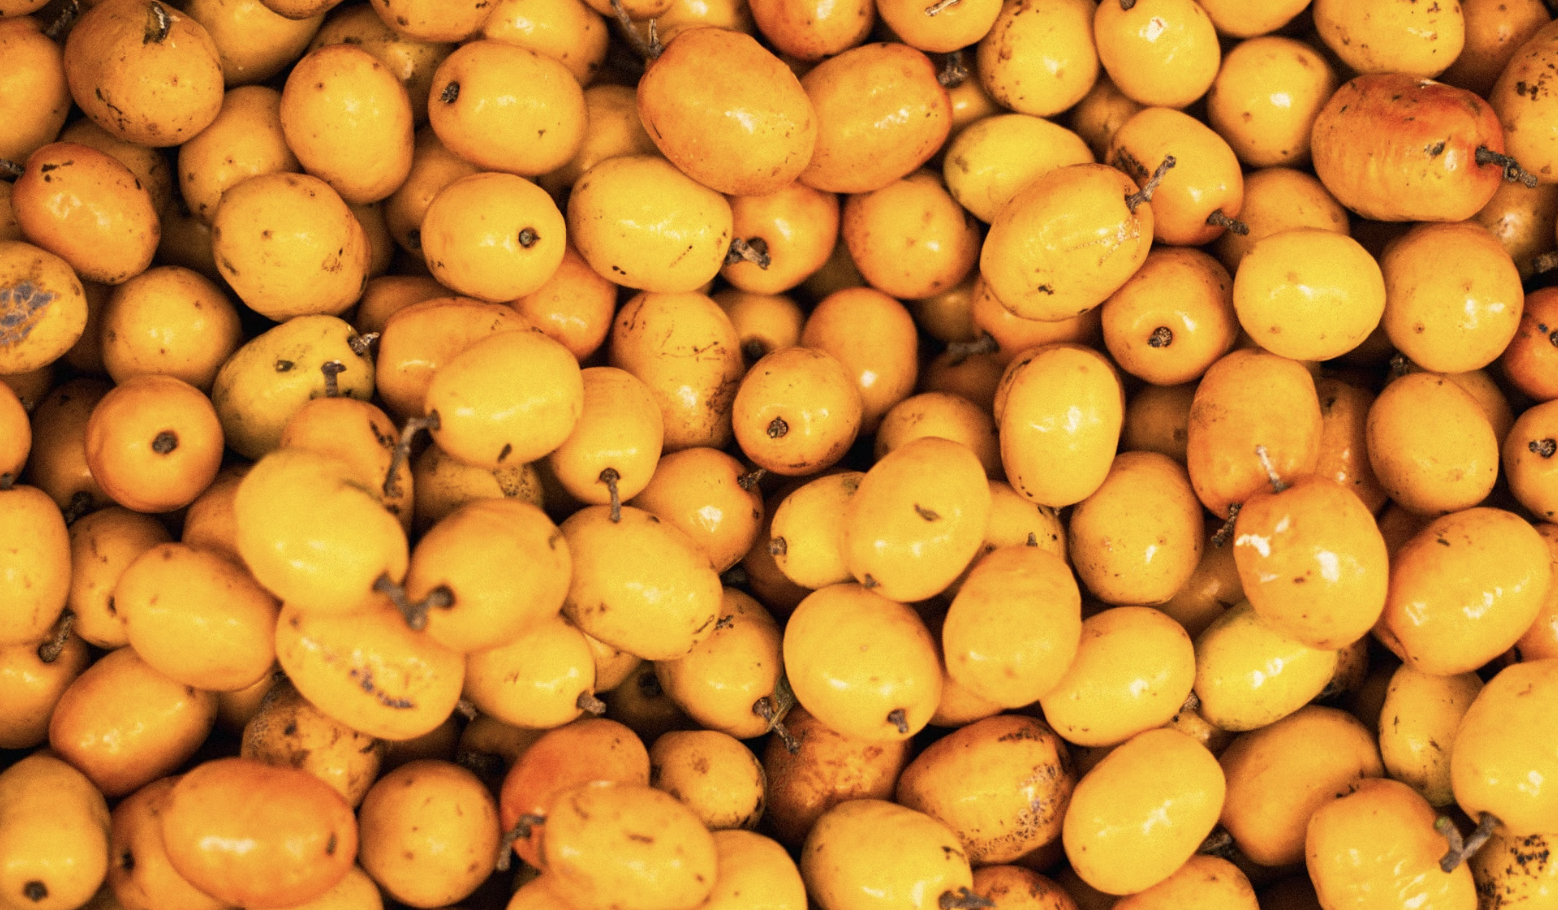
    As a landscape plant, the loquat is a showstopper: glossy, dark-green, tropical-looking leaves up to a foot long, an attractive rounded or vase-shaped form, and fragrant white flower clusters whose sweet scent carries on the breeze. Left unpruned it can reach 20 to 30 feet, but it’s easily kept to a tidy 10 to 15 feet and it makes an excellent specimen tree, shade cover, or even an espalier against a warm wall. The round-to-pear-shaped fruits, borne in generous clusters, ripen to yellow or orange with sweet, juicy, slightly tart flesh and a soft, apple-like texture. The flavor is hard to pin down and all the more delightful for it, tasters variously describe notes of peach, apricot, plum, cherry, citrus, and mango, usually with a mellow honeyed sweetness. It’s the kind of fruit that makes first-timers’ eyes widen, precisely because it tastes like nothing else and can’t be bought fresh at the average supermarket.

    The Loquat’s Backward Season (and Why Climate Is Everything)

    If you take away one thing from this guide, make it this: the loquat’s unusual bloom cycle is the key to whether you’ll actually get fruit. Loquats flower in fall to early winter and ripen fruit in late winter to early spring the opposite of nearly every other fruit tree.

    That timing creates a crucial climate quirk. The loquat tree is quite cold-hardy, surviving temperatures down to around 10–12°F without serious damage. But its flowers and developing fruit are far more tender and are killed at about 27°F. So in a cold-winter region, you may grow a gorgeous, thriving loquat tree that simply never fruits, because each fall’s blossoms freeze before they can ripen.

    This is why loquats fruit reliably in USDA zones 8 to 10  warm, mild-winter areas where citrus also grows, like much of California, the South, and the Southeast. If your winters dip below the mid-20s°F, you can still enjoy the loquat as a handsome evergreen, or grow a dwarf tree in a container you move to shelter to protect the flowers and fruit. Keeping an eye on your first and last frost dates tells you exactly what to expect, and our USDA Zone 9 gardening guide covers warm-climate fruit growing in more depth.

    In our experience, site selection makes a real difference right at the margins of loquat’s fruiting range. Gardeners in borderline zones who tuck their tree into a warm, protected microclimate against a south-facing wall, under the eaves of a house, or in a courtyard that traps daytime heat, often coax fruit from trees that would freeze out in an open, exposed yard. A spot sheltered from cold morning sun (which can damage frozen tissue as it thaws too quickly) and from harsh wind gives those precious fall flowers and winter fruitlets their best shot. If you’re on the cool edge of zone 8, treat finding that sheltered pocket as the most important decision you’ll make.

    Seed, Cutting, or Grafted Tree?

    You have a few ways to start a loquat, but they’re not created equal:

    • Grafted nursery tree (best): A grafted tree grows on established rootstock, comes true to a known variety, and fruits reliably within a couple of years. For dependable, tasty fruit, this is the way to go.
    • From seed (fun but slow): Loquat seeds must be sown fresh, right after eating the fruit, because they don’t store. Seedlings won’t come true to the parent, their fruit quality is unpredictable, and they can take up to 10 years to fruit, if they ever do. Lovely as an experiment, unreliable for fruit.
    • From cuttings (tricky): Semi-hardwood cuttings taken in early summer can root, but loquats are notoriously difficult to strike, so dip them in rooting hormone and expect mixed results.

    For most gardeners who want to eat loquats this decade, a grafted tree from a reputable nursery is well worth it.

    A quick word on varieties, since there are hundreds to choose from. Loquats fall loosely into two camps: white-fleshed types, prized for delicate sweetness and often better in cooler areas, and orange-fleshed types, which are richer and more robust but need more heat to sweeten fully. Popular, widely available cultivars include ‘Big Jim’ and ‘Champagne’ (sweet, high-quality favorites), ‘Gold Nugget’ (large, orange, late-ripening), and the compact ‘Christmas’ loquat that fruits early. If you can, buy from a nursery that grows for your region and ask which cultivars fruit best locally — a variety matched to your climate will always outperform a random seedling.

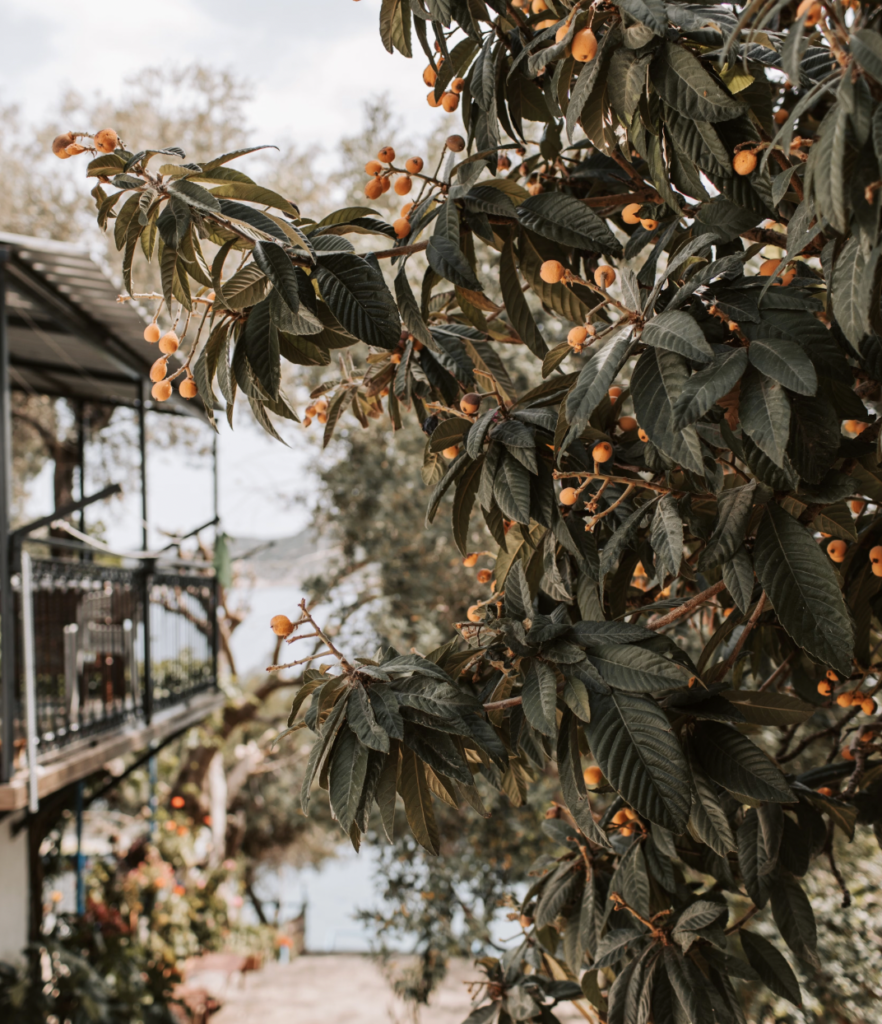
    Loquat tree with ripe fruit in a rustic Antalya garden setting.
    Loquat tree with ripe fruit in a rustic Antalya garden setting.

    How to Plant a Loquat Tree: Step-by-Step

    Spring or early summer (before hot, dry weather) is the ideal planting time; in mild-winter regions, fall works too. Follow these steps.

    • Step 1: Choose a Sunny, Sheltered, Well-Drained Site

    Pick a spot in full sun — loquats will grow in part shade, but the fruit won’t ripen as sweetly. Shelter it from strong wind, which damages young branches and hurts fruiting. Give it room: plant standard trees at least 12 to 25 feet from buildings, walkways, and other trees (loquats can be a little messy over a patio, and crowding reduces fruiting).

    • Step 2: Prepare Slightly Acidic, Compost-Rich Soil

    Loquats aren’t fussy about soil type and grow in loam, sandy soil, or clay — but drainage is essential, since they won’t tolerate soggy roots, and they dislike alkaline soil. They prefer slightly acidic ground (around pH 6–6.5). Work plenty of compost or well-rotted manure into the planting area, and if your soil runs alkaline, our guide on lowering soil pH for acid-loving plants can help. Not sure where you stand? Learn how to test your garden soil first.

    • Step 3: Plant Your Loquat

    Dig a hole about twice as wide as the root ball and a little deeper, mixing compost into the backfill. Drive a sturdy stake in beside the hole first. Set the tree so its nursery soil mark sits at or just below the surrounding soil surface, backfill, and firm gently. Because loquat roots are shallow, plan to keep a weed-free zone a few feet around the trunk and cultivate carefully.

    • Step 4: Water In and Mulch

    Water the newly planted tree deeply and often as it establishes its roots. Then spread a 2- to 6-inch layer of organic mulch (like bark or wood chips) around the base, keeping it 8 to 12 inches away from the trunk to prevent rot. A good organic mulch conserves moisture and suppresses the weeds that compete with young loquats.

    • Step 5: Tip-Prune Young Shoots to Shape

    In the first year or two, tip back any shoots that grow beyond about 2 to 3 feet. This encourages branching and builds a strong, well-shaped tree that’s easy to harvest. You can train loquats to an open-center or modified central-leader form, much like apples and pears.

    Loquat Care: Water, Feeding and Pruning

    Once established, loquat care is refreshingly simple.

    • Watering. Water deeply about once a week during the growing season, more often in hot, dry weather, checking soil moisture a few inches down. Established trees tolerate some drought, but pay attention at two key moments: when the blossoms swell and again as the fruit ripens, when consistent moisture plumps the fruit and prevents drop. Mulch helps hold that steady moisture.
    • Feeding. Feed loquats in early spring as growth resumes, using a balanced fertilizer applied in modest doses rather than one heavy hit, a common guideline is about one pound per year of the tree’s age, split into several feedings through the growing season. Avoid overdoing nitrogen, which favors leaves over fruit. Our guide to understanding NPK ratios keeps feeding simple, and homemade organic fertilizers offer gentle, low-waste options.
    • Pruning. Loquats need only light pruning. In warm regions, prune in late winter or early spring, removing dead, crossing, and inward-growing branches to open up the canopy to light and air, and shortening the tree to a manageable 6 to 12 feet. In colder areas, wait to prune until new shoots appear, so you don’t remove wood you’ll need if frost causes dieback. Always use clean, sharp tools.

    Fruit Thinning for Bigger, Better Loquats

    Here’s a pro tip that many casual growers miss: thinning your loquat clusters dramatically improves the fruit. Each terminal cluster can set far more fruit than it can properly size up, so once the little fruits form, thin each cluster to about four to ten fruits by pinching out the smallest. It feels counterintuitive to remove healthy fruit, but doing so can increase the size of what remains by anywhere from 25% to 100% bigger, sweeter, more impressive loquats. In areas with fruit flies or hungry birds, slipping a mesh bag over each cluster protects your crop as it ripens.

    Growing Loquats in Containers

    If your winters are too cold for reliable fruiting, a container is the perfect answer. A potted loquat can spend the warm months outdoors and be moved to a sheltered, frost-free spot to protect its fall flowers and developing winter fruit from freezing.

    Choose a large pot with excellent drainage, use a rich, free-draining mix, and pick a naturally compact or dwarf variety. Container loquats grow fast, up to two feet a year, so prune more often to keep them small and productive. Give the pot full sun, water when the top of the soil dries, and feed lightly through the growing season. Our container gardening guide for beginners and overwintering plants guide cover the details of pot growing and cold-season care.

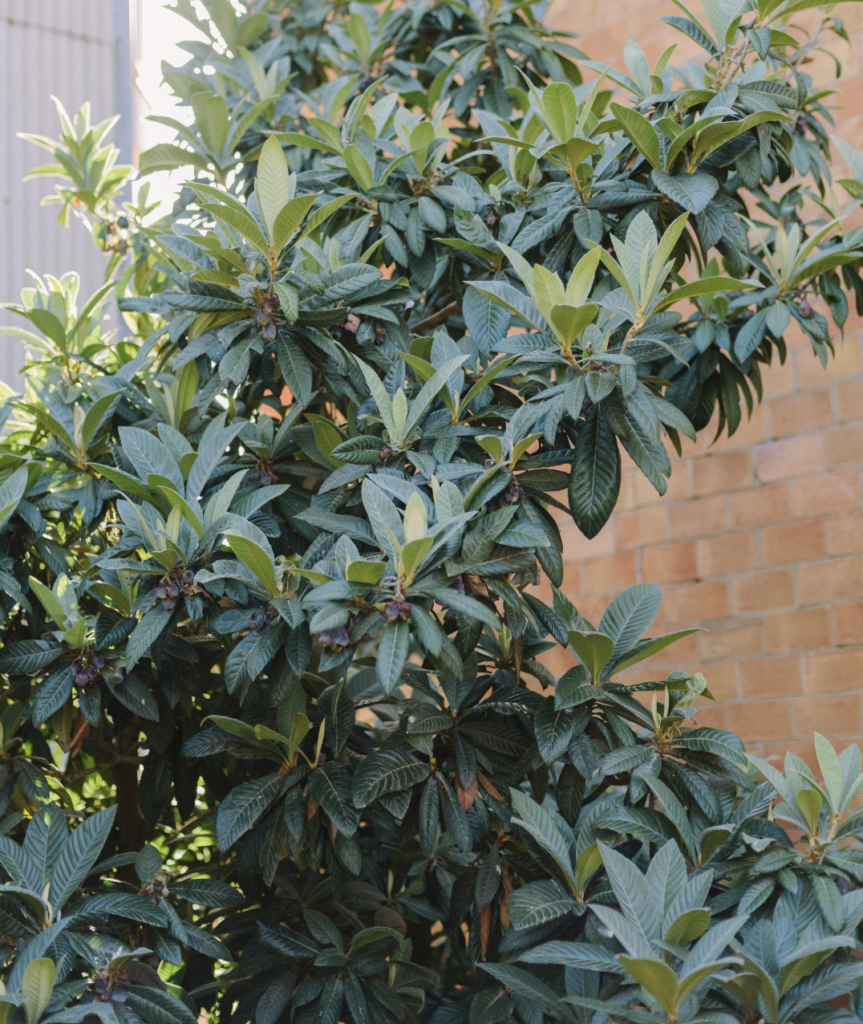
     growing a bushy  loquats in the backyard garden.
    growingb a bushy loquats in the backyard garden.

    How Long Until a Loquat Fruits & Harvesting

    A grafted loquat typically begins bearing within about two to three years, while seed-grown trees are slow and unreliable. Once established, mature trees are wonderfully productive, yielding anywhere from 35 to 300 pounds of fruit a year depending on size and care.

    Because the fruit ripens unevenly, harvesting loquats is a leisurely, several-session affair which happily stretches your fresh-fruit season. Watch for these ripeness signs: a bright, even yellow-to-orange color, a sweet, aromatic fragrance, and a slight softness to gentle pressure. Loquats develop their best flavor when allowed to fully ripen on the tree, so resist picking early. Harvest by twisting individual fruits (ripe ones detach easily) or snipping whole clusters with clean shears, handling gently to avoid bruising.

    Enjoy your loquat fruit fresh (most people peel the thin skin), or use the surplus in fruit salads, jams, jellies, chutneys, pies, and cobblers. The fruit is very perishable, keeping only a few days in the fridge, though you can freeze it whole for later. Rich in vitamins, minerals, and fiber yet low in calories, homegrown loquats are as nourishing as they are delicious, and a real treat to share with family and friends.

    A Note on Loquat Seeds

    One quick, responsible heads-up: like the seeds of apples, cherries, and other rose-family relatives, loquat seeds (and leaves) contain naturally occurring cyanogenic compounds and shouldn’t be eaten. Simply remove and discard the large seeds before eating or cooking with the fruit, the sweet flesh itself is perfectly safe and wholesome. It’s an easy habit, and worth mentioning if children are helping with the harvest.

    Common Problems and How to Fix Them

    Loquats are generally tough and trouble-free, but keep an eye out for a few issues.

    Problem Likely Cause The Fix
    Healthy tree but no fruit Fall flowers or winter fruit killed by frost Grow in zones 8–10 or protect a container-grown tree from cold
    Small or sparse fruit Overcrowded clusters Thin each cluster to 4–10 fruits for bigger loquats
    Blackened, scorched-looking shoots Fire blight (a rose-family disease) Prune out affected wood well below the damage; sterilize tools
    Maggoty or damaged fruit Fruit flies (Caribbean fruit fly) or birds Bag fruit clusters; clean up fallen fruit
    Sticky leaves or cottony spots Aphids or scale Blast aphids with water; use insecticidal soap or neem oil
    Wilting, poor growth Soggy or alkaline soil Improve drainage; acidify alkaline soil; don’t overwater

    Because loquats are related to apples and pears, they can be susceptible to fire blight, so remove any affected branches promptly and avoid heavy nitrogen feeding, which fuels the soft growth the disease favors.

    Is Growing a Loquat Tree Worth It?

    Wonderfully so. The loquat gives you the best of both worlds: a beautiful, low-maintenance evergreen that looks lush all year, and clusters of sweet, fragrant fruit at a time when almost nothing else is ripening fruit you can rarely find in any store. For gardeners in warm climates, it’s one of the most rewarding and underappreciated fruit trees you can plant, asking for little more than sun, decent drainage, and an occasional prune in return for decades of harvests.

    The loquat also makes a lovely finale to a whole collection of exotic edibles. If you’ve enjoyed this guide, explore its tropical companions: growing a lychee tree, fig trees for beginners, a compact kumquat tree in a pot, guava trees in containers, or pomegranate from seed. For the complete lineup, browse our hub on growing tropical and exotic fruits, part of the broader EcoGardenHub Plant Library.

    Plant a loquat this season, give it sun and well-drained soil, and look forward to fragrant fall blossoms and golden spring fruit, a beautiful, delicious secret hiding in plain sight in your own backyard. Once you’ve tasted a sun-warmed loquat picked at the drab end of winter, when little else in the garden is fruiting, you’ll wonder why this generous, easygoing tree isn’t in every warm-climate garden already.

    Frequently Asked Questions

    How long does it take for a loquat tree to fruit? A grafted loquat tree usually begins fruiting within about two to three years, while a seed-grown tree can take up to 10 years, if it fruits at all. For reliable fruit, start with a grafted nursery tree.

    What climate do loquats need to fruit? Loquats fruit best in USDA zones 8–10. Though the tree survives to about 10°F, its fall flowers and winter fruit are killed at around 27°F, so mild-winter regions are essential for a reliable crop or grow it in a movable container.

    Do you need two loquat trees to get fruit? Not usually. Most loquats are self-fertile and will fruit on their own, but planting a second, different cultivar nearby often improves both the quantity and quality of the fruit through cross-pollination.

    When do loquats flower and fruit? Unlike most fruit trees, loquats flower in fall to early winter and ripen their fruit in late winter to early spring. This backward cycle is why frost protection is so important for getting a crop.

    Are loquat seeds poisonous? Loquat seeds (and leaves) contain cyanogenic compounds, similar to apple and cherry seeds, and shouldn’t be eaten. The fruit’s flesh is perfectly safe, just remove and discard the seeds before eating or cooking.

    How big does a loquat tree get? Loquats can reach 20 to 30 feet if left unpruned, but they’re easily kept to a manageable 10 to 15 feet, and dwarf varieties stay smaller still, ideal for containers and small gardens.

    Can you grow a loquat tree in a pot? Yes. Loquats grow well in large containers, especially dwarf varieties. Container growing is ideal in cold regions, since you can move the tree to a sheltered spot to protect its flowers and fruit from frost.